Create a Schedule Override
Use a Schedule Override when the normal rotation should stay in place, but one specific window needs a different responder.
Common examples:
- vacation coverage
- temporary handoff during a shift
- incident-driven temporary reassignment
Before you start
Make sure the Schedule already exists and the replacement user is already available in 1stLine.
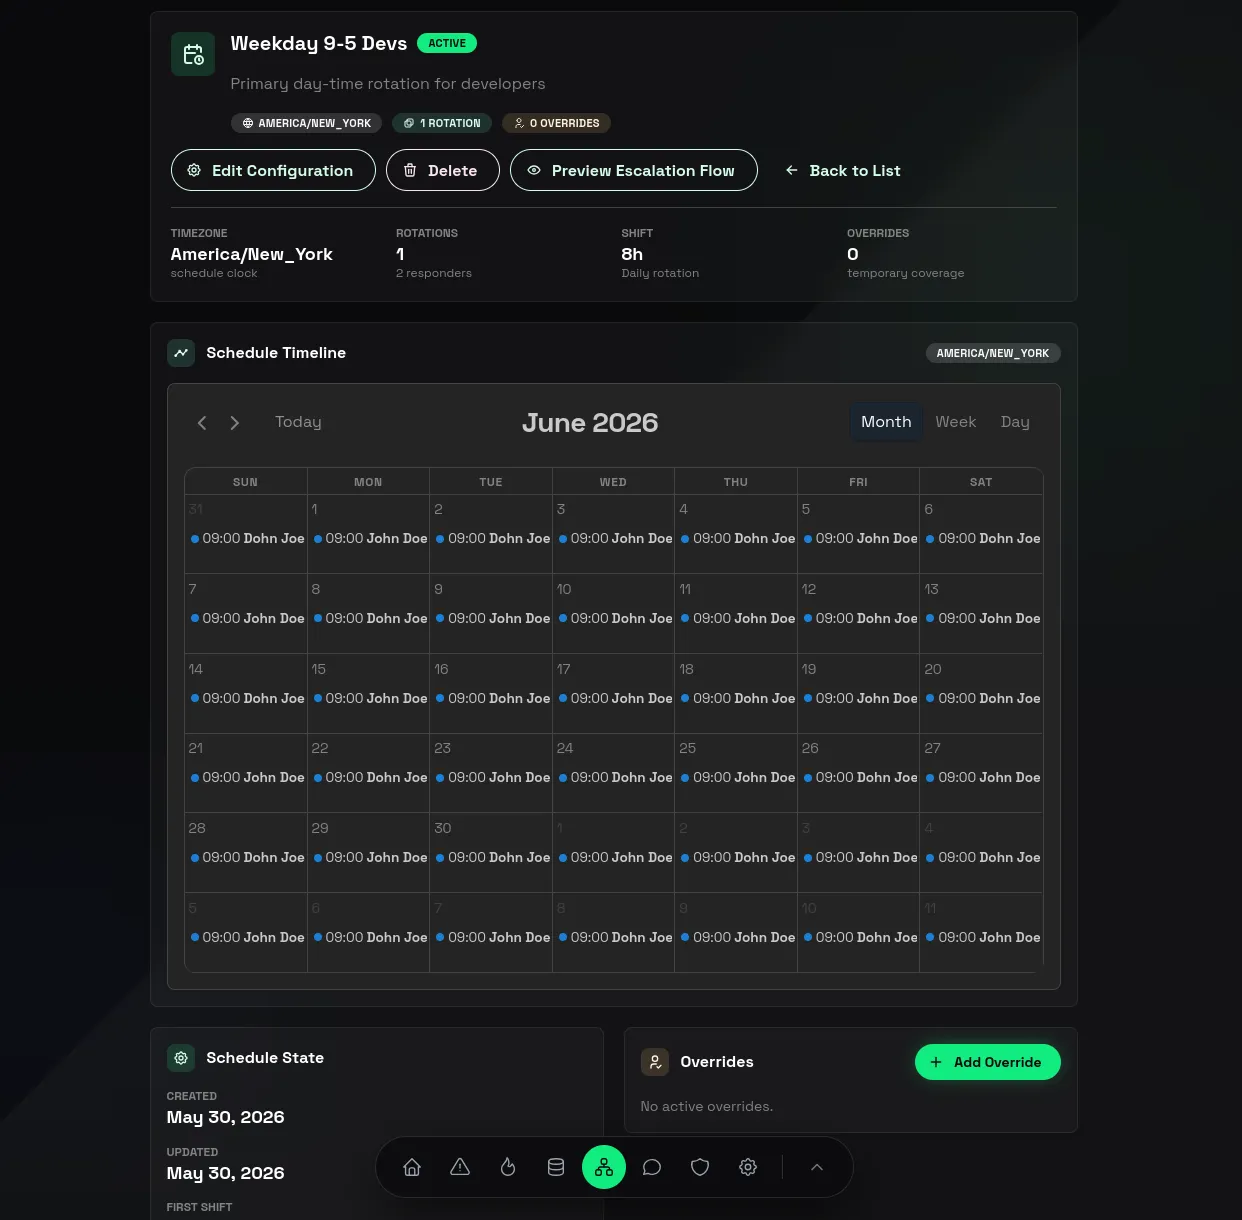
1. Open the Schedule
- Open Escalation Schedules.
- Select the Schedule you want to change.
2. Open the Overrides section
- In Schedule Details, find Overrides.
- Click Add Override.
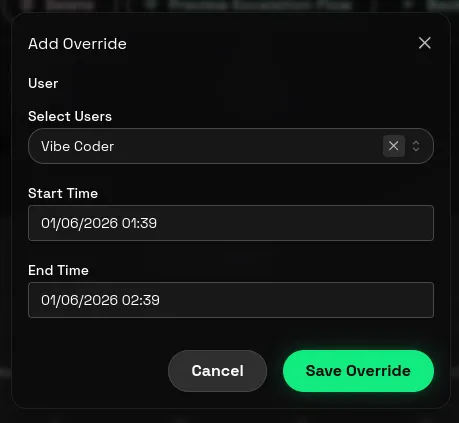
3. Set the override window
In Add Override, set:
- the replacement user
- the start date and time
- the end date and time
Then click Save Override.
4. Verify the result
After saving:
- Review the Overrides list.
- Check Schedule Timeline.
- Confirm the override window appears in the expected time range.
If the timeline does not look right, check the schedule Timezone first.
When to use an Override instead of editing the rotation
Use an Override when the change is temporary.
Edit the rotation itself when the schedule pattern has permanently changed.
That keeps the base schedule readable and avoids turning one-time exceptions into long-term structure.